If you are running out of space for your CRM; you might want to consider moving attachments from Notes and Emails to Azure Blob storage.
Azure Blob storage is an cost effective way to storing attachments and Microsoft has a CRM add-on called “Attachment Management“. Click here to navigate to the Attachment Management solution in AppSource.
Setup Azure Blob Storage with CRM
After you have logged into your CRM instance you can install this Add-On. Once the installation is complete, following are the steps to configure the Add-on.
- You will need valid Azure subscription.
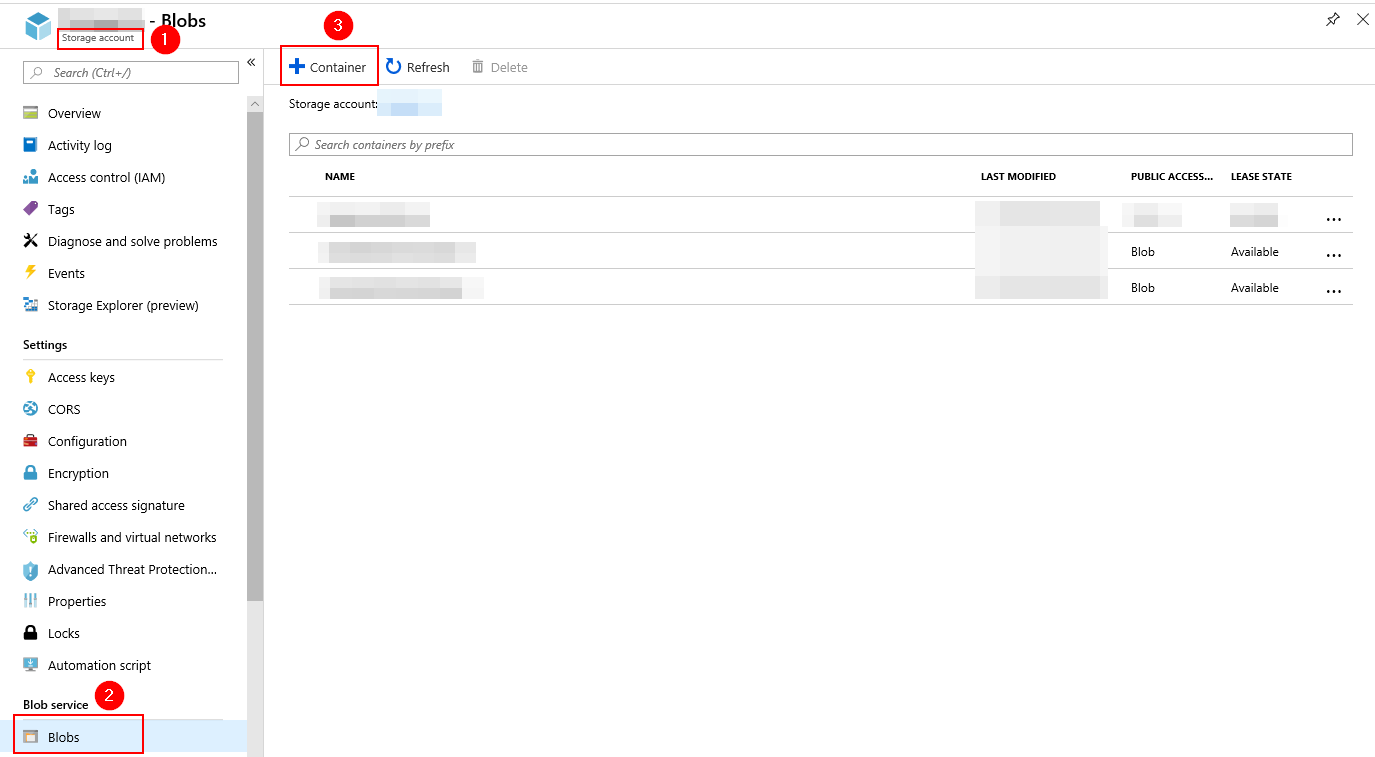
- Once you have the Azure subscription; create a storage account of type Blob in Azure and add two containers; one for Notes and another for Email
- To add storage containers; you will have to navigate to Blobs under Blob service of your Storage account page and click add
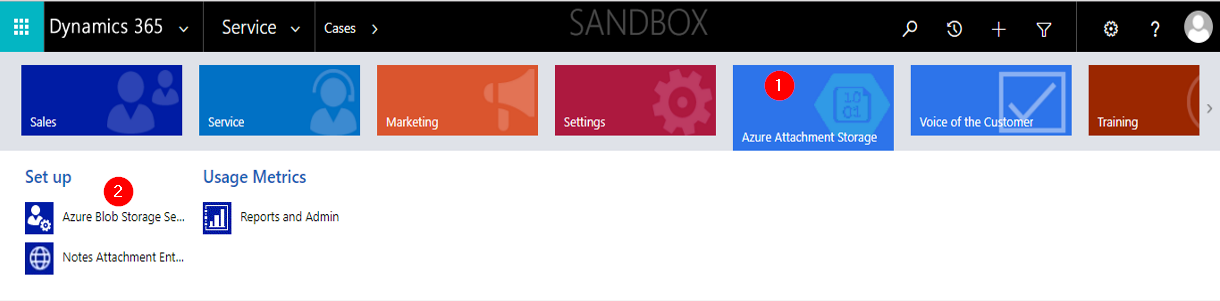
- Go to your CRM instance and navigate to Azure Attachment Storage
- Click on Azure Blob Storage Setup
- Fill in the details on Azure Attachment Storage Configuration page
- Name: name of the storage account you created above
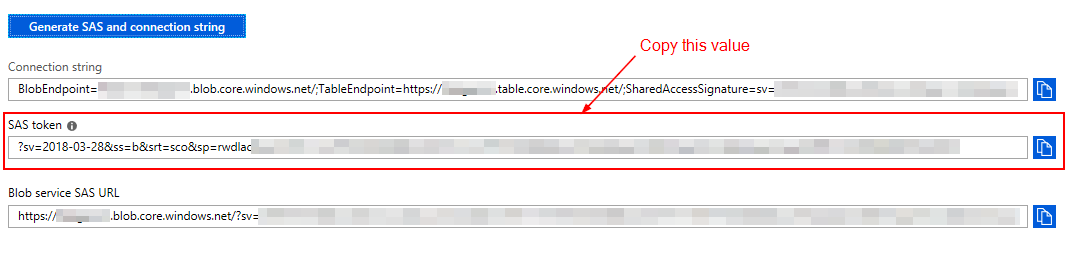
- SAS Token: to create SAS token click here
- Notes attachment container name: container name for notes
- Email attachment container name: container name for emails
Now navigate to “Notes Attachment Entity Settings” where you will select the entities from which you want to move the notes attachment to Blob storage by specifying the name of the storage container.
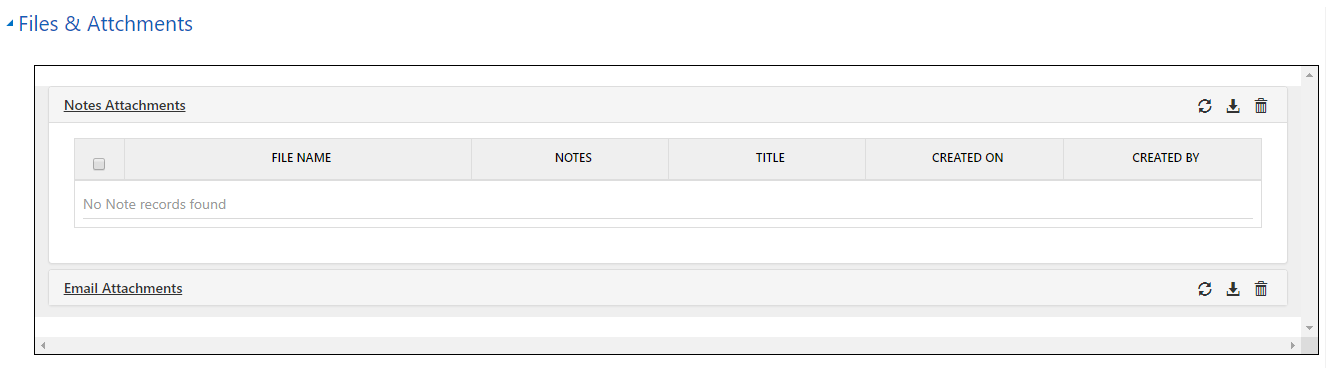
Configure forms to view attachments from Azure Blob
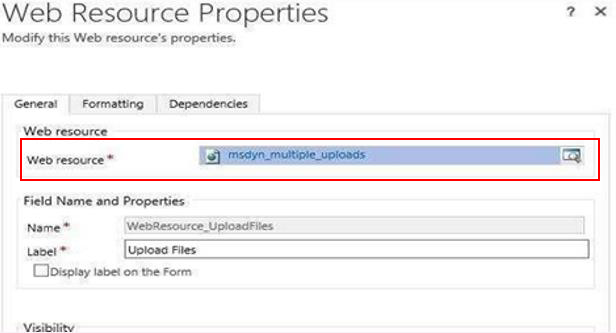
Navigate to any entity form and select the option to insert a web-resource wherever you want it on the form.
Recommended is web resource control spans the width of the form
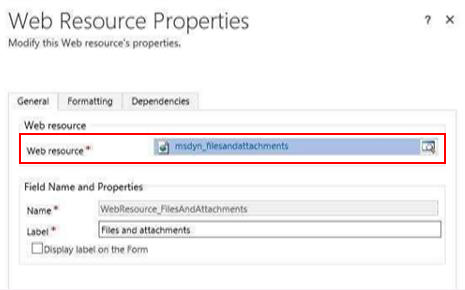
Search for web resource named “msdyn_filesandattachments.html“. Specify the name and label you wish to give. Publish all changes and go to the entity form.
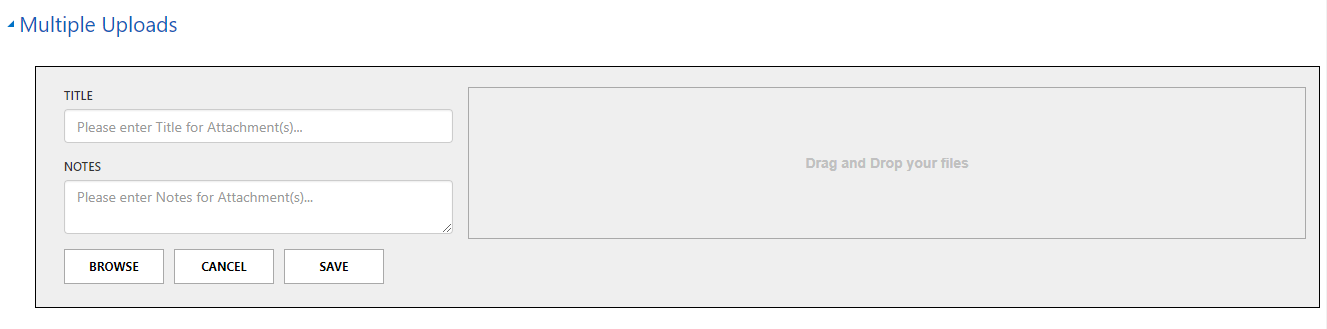
Add control to upload multiple files from CRM to Azure Blob
Navigate to any entity form and select the option to insert a web-resource wherever you want it on the form.
Recommended is web resource control spans the width of the form
Search for web resource named “msdyn_multiple_uploads.html“. Specify the name and label you wish to give. Publish all changes and go to the entity form.
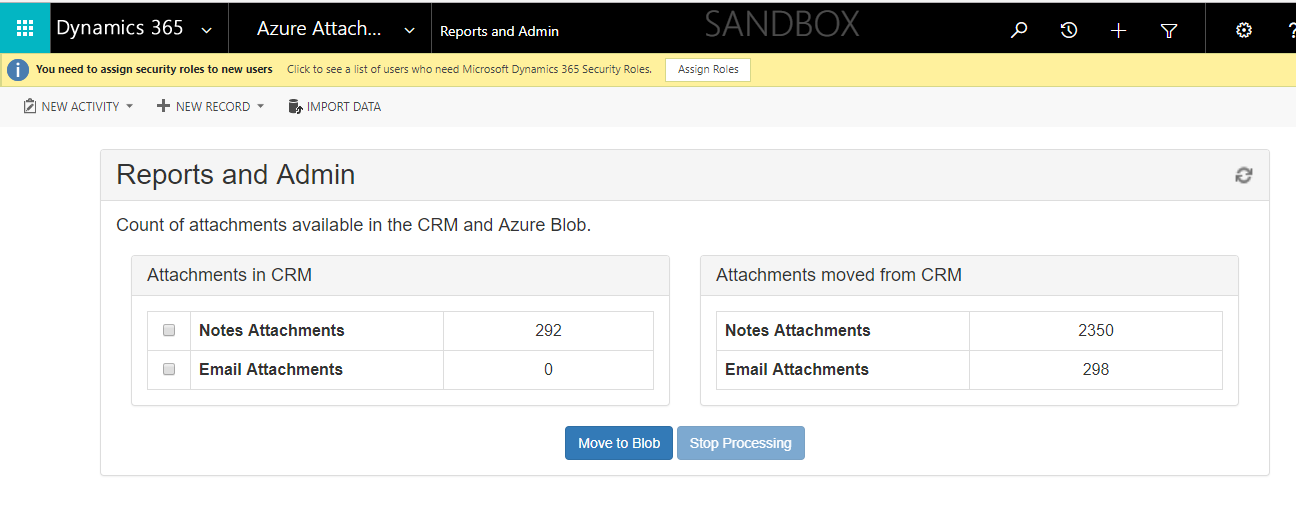
Report and Admin
This link provides you the way to move all attachments from CRM to Azure Blob once you install the solution. The only drawback of this dashboard is; it only moves the attachment for couple of minutes and then stops processing. So not all attachments will be moved but instead you will have to keep clicking the “Move to Blob” button. There is a nice solution on GitHub that helps us resolve this limitation by using Logic Apps.
Troubleshooting
Once the setup is completed, as soon as users add a note or an email with attachment; a background process will kick in and move the attachment to Azure Blob. If it fails you can see the failures in the “System Job” link in CRM.
If SAS Key dates expired then the process will just stop working but you won’t get any sort of notifications. If you see attachments not getting moved then try navigating to “Report and Admin” link. If the page does not loads means the SAS Key has expired and you will need to generate a new SAS Key. Once you generate a new SAS Key update the SAS Token on the Setup page in CRM.
Microsoft’s Attachment Management solution is a nice way to offload space from CRM to Azure Blob. For more details, you can also checkout their User Guide which has in-depth explanation.
