Today I tried my hands on creating a custom action cards in Dynamics CE using Microsoft Flow.
This feature is still in Preview
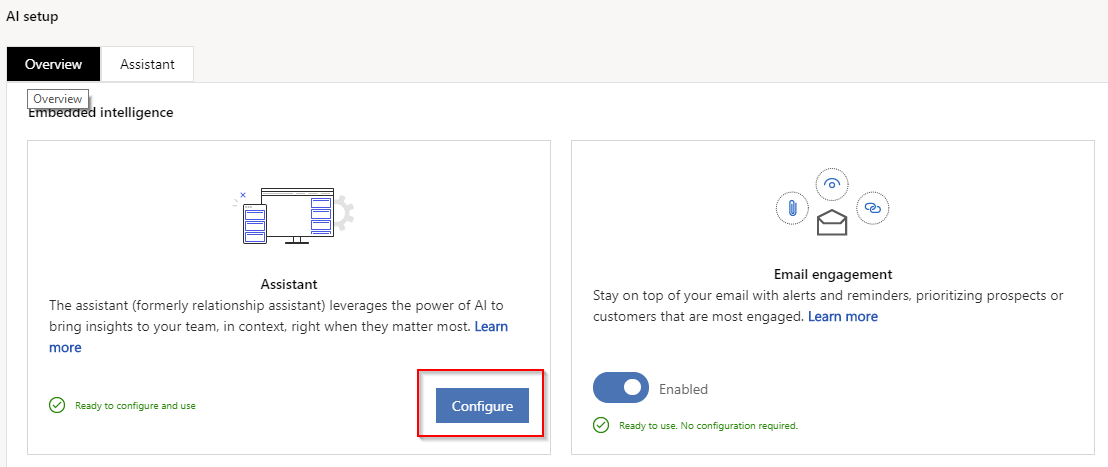
First navigate to “Settings” and under “System” find and click “Sales Insights”. This will take you to AI setup screen. Before we start creating custom cards you may want to enable “Assistant” (shown below) and click on “Configure”.
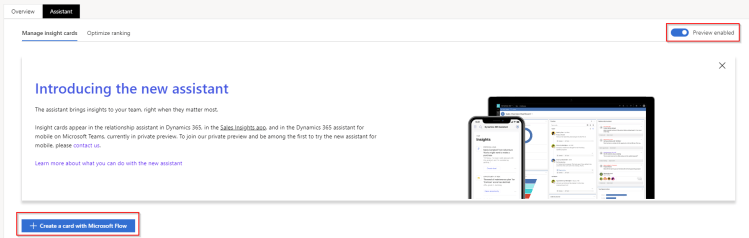
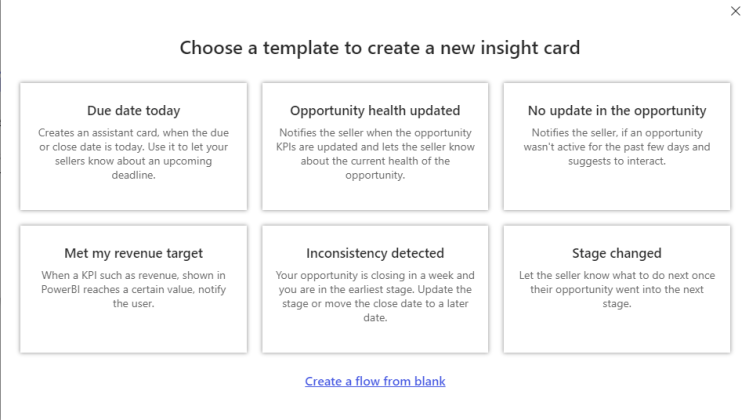
This will take you to configuration screen which looks like below screenshot. Make sure “Preview enabled” is selected. Click on “Create a care with Microsoft Flow”. This would bring up the template screen – choose the one that fits your needs. I selected “Due date today”. When you select your option Microsoft Flow would open in a new tab.
System will ask you to SignIn or authenticate your connection. Once you do that, a new Flow will be created with a default name.
Don’t forget to give proper name to MS-Flow
In the Flow itself you can change the schedule, filter query, entity to look for, etc. By default the Flow will be created for “Task” entity. If you want a different entity choose appropriate entity from the “Entity Name” drop-down and if you do that do not forget to change the “Filter Query” and use appropriate attribute names. You can also change the query altogether; it just needs to be a proper query that pulls appropriate data. In my case I changed the filter to look for any records scheduled for today plus 2 days out from today.
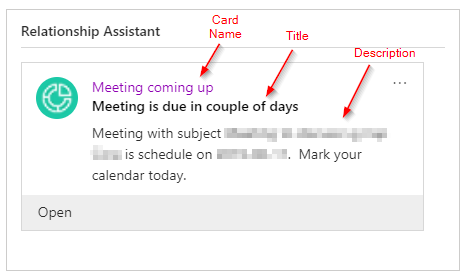
Then comes the part where you actually define the card in the for-loop. The reason for for-loop is because you are trying to update all the records that satisfy the “Filter Query”. By default the screen would look something like below.

Card schematic are as follows:
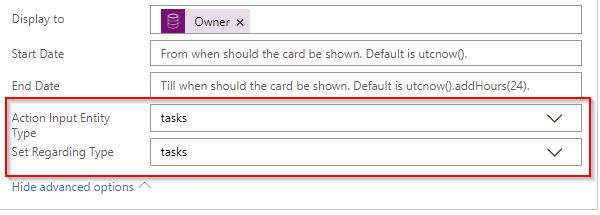
If you are creating card for some other entity, then change the “Action Input” and select appropriate primary key attribute for that entity from Dynamics Content window. Also, in that case you will need to change some additional properties and to do so you will need to click on  and change “Action Input Entity Type” to the entity that you are using. You can also change the “Regarding” to either the entity id you are using or some other related entity’s id. Regarding defines where the card will be shown. In my case Both these were same. But, if you end up changing the Regarding you will also have to change “Set Regarding Type” to the entity id you have used to set “Regarding”.
Once you navigate away from this page it took me a while to figure out where did the Flow got saved. So, the Flow gets created in your default CRM solution and you will have to use the new interface to find it. To do so, navigate to make.powerapps.com, select proper environment, click on “Solutions” and Filter the records by “Flow”.

If you want to make any changes to the Flow make sure you disable it before you make any changes.
That’s all. Have fun PowerApp’ing. 🙂
