With the new license changes you can create multiple sandbox instances using the new interface. Even though you have the ability to create multiple instances; the process itself doesn’t seem to be intuitive.
Below are the following steps you will need to perform for creating a sandbox instance.
Ensure you already have at least one instance provisioned (Production or sandox). You’ll need this to copy to your new environment
- Login to https://admin.powerapps.com/environments
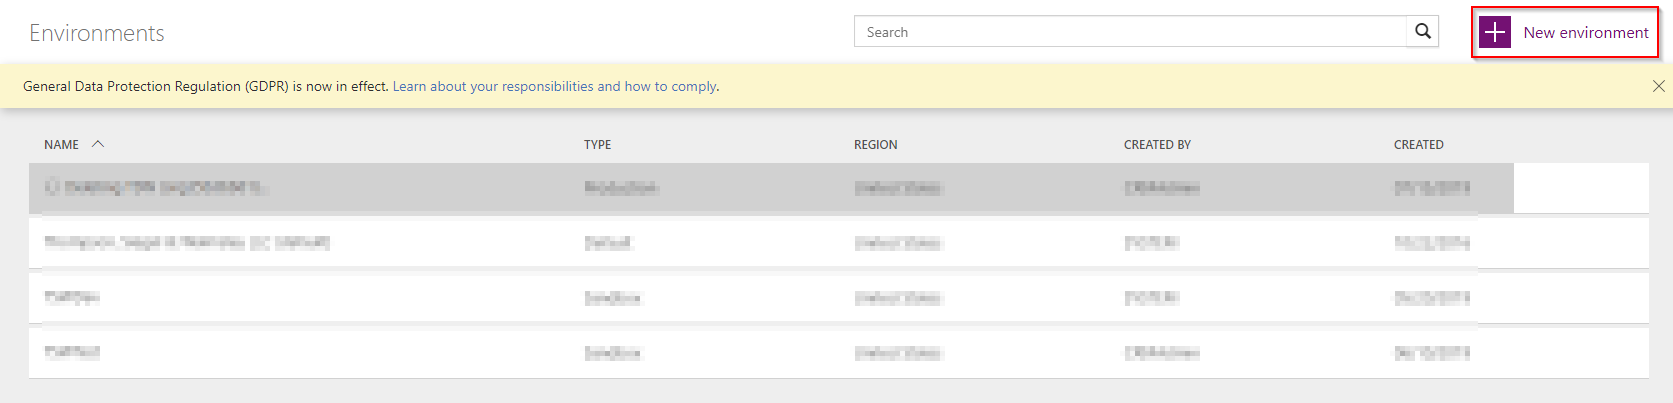
- Now select “New Environment” button on the top right corner of your screen.
- Give appropriate name to your environment and select type as Production (don’t worry it wont be a production instance at the end of the steps). Click create environment
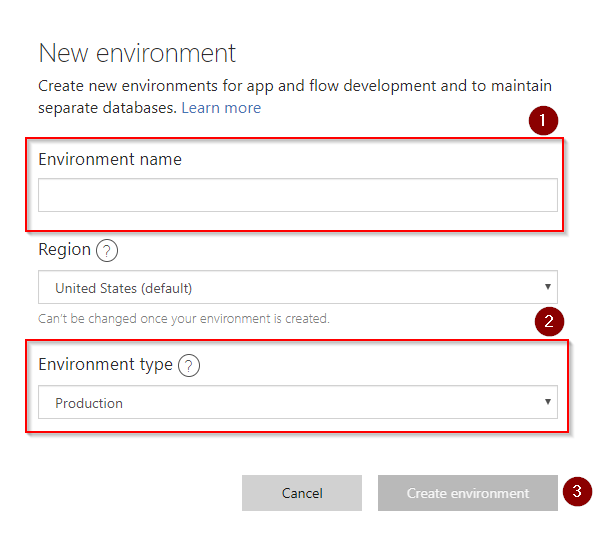
- When prompted, click “Create my database”
- Select appropriate currency and language settings
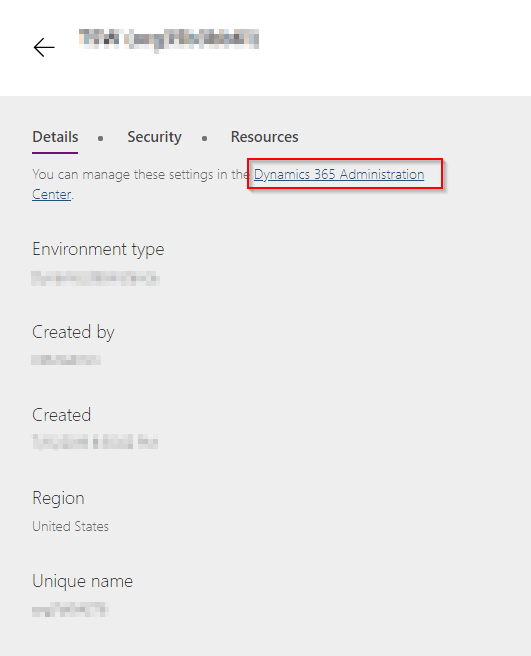
- Go back to https://admin.powerapps.com/environments and select your newly created environment
- Click on “Dynamics 365 Administration Center” which will take you to appropriate Instance Picker web page.

It may take up to 5-10 minutes to show your new instance in the list
- Select your instance – here you will notice the type is Common Data Service
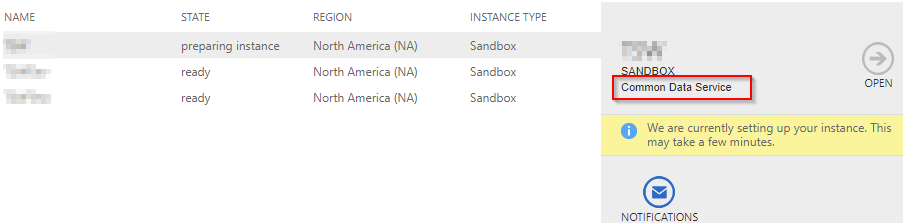
- Click “Edit” button
- Change the instance type to Sandbox
- Click save – this will take you to main list once it saves
- Let’s now copy another CRM instance in this new instance
- Select the instance you would like to copy into the new sandbox instance and click “Copy”
- Select use old copy page (important – sometimes the new instances don’t show up in new interface)
- Select you new sandbox environment from the Target list
- Select appropriate copy method (Full or Minimal)
- Change the name if you like
- Change the URL is you want
- Click Copy
- Click Yes to start copy
- Wait for a while for instance to copy – time depends based on how large the source database is.
While copy the instance may not appear sometimes in the list and that is normal
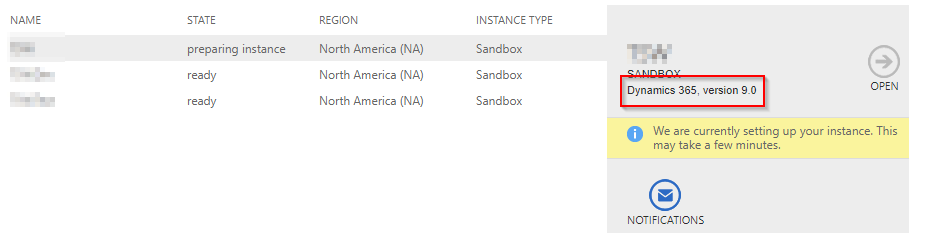
- Once the copy is complete, you’ll notice that the instance type has now changed to D365 v9.0
- Click Admin
- Uncheck Enable Administrative Mode
- Click Save
Hope this helps.

1 comment